Set a Static IP Address in VMware Fusion 7
Table of Contents
Update: This technique also works in VMware Fusion 8!
I am an OSX user, and I run a lot of VMs using VMware Fusion 7 which I have been very happy with since I purchased it. One thing that always bugged me is that Fusion allocated a different IP address to each VM every time it started up, or resumed from a suspend. Applications that I use that have references to those IP addresses always had to be reconfigured each time I wanted to use them.
More recently, I’ve been testing out lot of different type 1 Hypervisors (ESXi/vSphere, Proxmox, XenServer etc) which usually make the assumption that they will be given a static IP (which they should in the real world).
So imagine my delight when I discovered that you can indeed allocate static IP addresses to VMs simply by editing a single config file.
Step 1: Get your VM’s virtual MAC address #
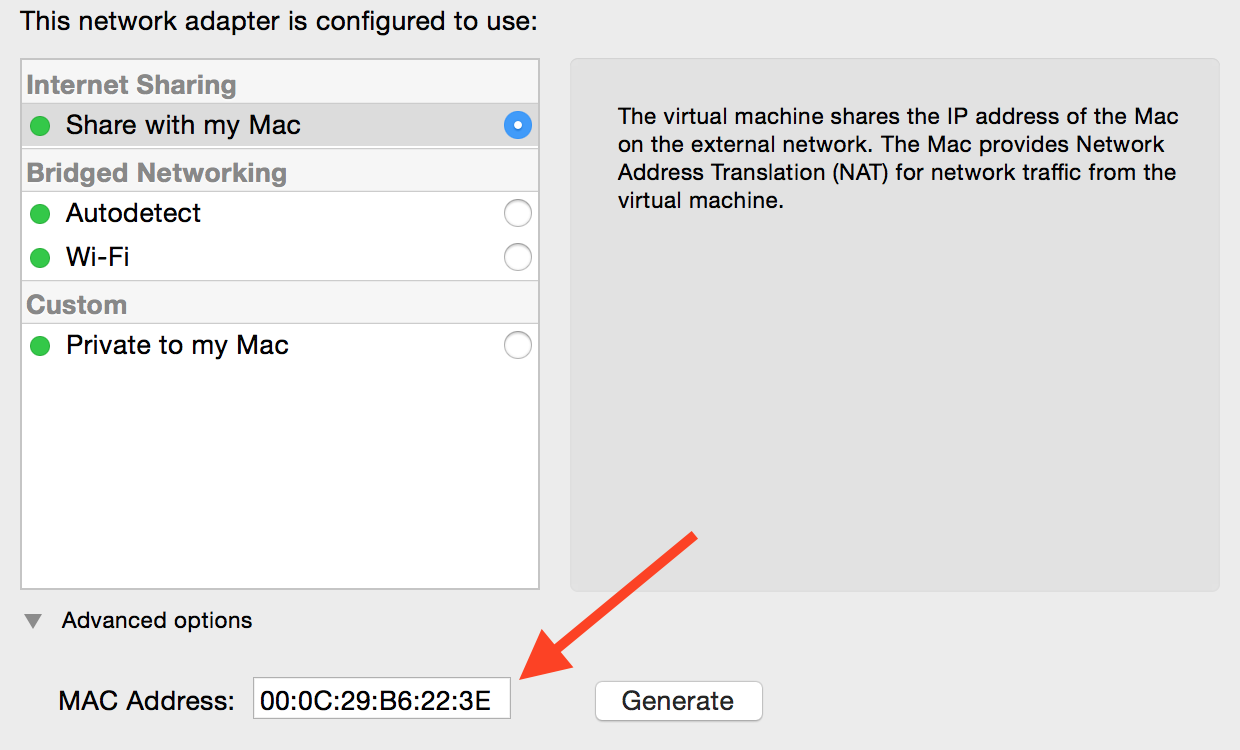
Open the VM’s Settings and select “Network Adapter”. Then expand the “Advanced options” section at the bottom and copy the MAC address that you see there. Note: if the VM is powered on, the MAC address box will be greyed out.

Step 2: Modify dhcpd.conf #
On my system, this file is located in /Library/Preferences/VMware Fusion/vmnet8, so edit the file (use sudo):
sudo nano /Library/Preferences/VMware\ Fusion/vmnet8/dhcpd.conf
Now, after where it says End of "DO NOT MODIFY SECTION" enter the following lines:
host Windows8x64 {
    hardware ethernet 00:0C:29:B6:22:3E;
    fixed-address  192.168.167.80;
}
Important: My VM’s name is actually “Windows 8 x64” so in the dhcpd.conf file you must refer to it with no spaces in the name, so Windows8x64.
Important: You must allocate an IP address that is outside the range defined inside the DO NOT MODIFY SECTION section. My range was set to range 192.168.167.128 192.168.167.254 so I can allocate any address under 192.168.167.128 (which means 192.168.167.1 to 192.168.167.127 are available).
Step 3: Restart VMware Fusion #
To get this new setting to stick, perform a full quit of VMware Fusion.app (⌘Q or right-click on the icon and click Quit). Start it up again so that it picks up the new DHCP settings.
Step 4: Start the VM #
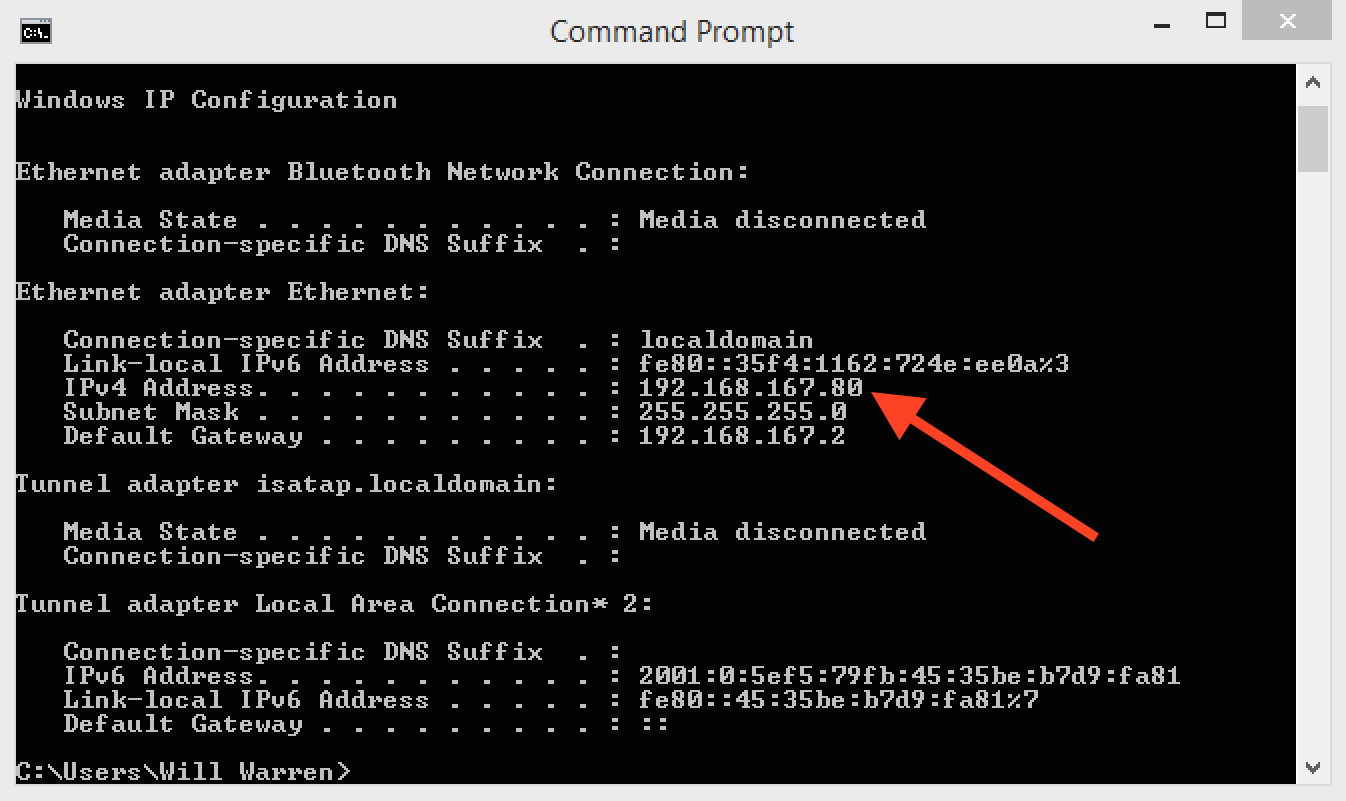
Next time the VM boots (or you do a DHCP renewal) your machine should be given the IP address you configured:

This same IP will always be allocated to the VM now. Hopefully this can be helpful to other people who have had the same challenges with VMware Fusion 7!